
Step 2: Creating a local environment variable with Gatsby
Our next step is to create a local environment and add a change that will let us see that it works.
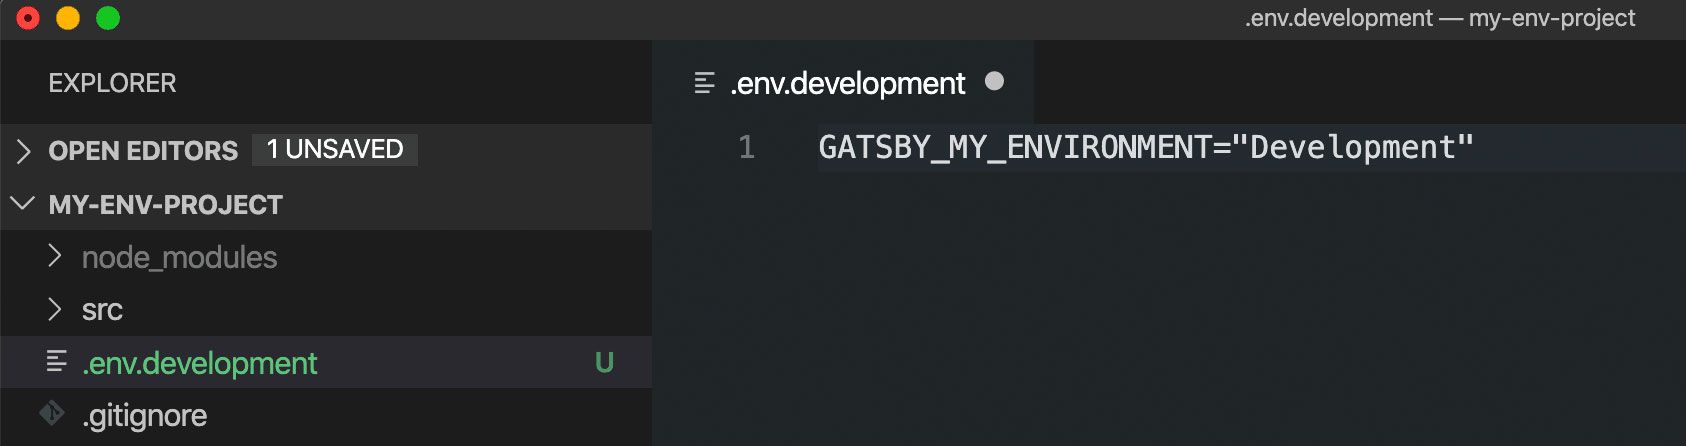
To get started, let's first create a new file at the root of our project called .env.development. It might ask you if you really want to use the . prefix, make sure you say yes!
Inside that file, let's add:
# Inside .env.development
GATSBY_MY_ENVIRONMENT="Development"
Next, to make sure we don't forget to do this, let's also add this .env.development file to our .gitignore so we don't accidentally commit this to our git history. If you don't already have a .gitignore file, make sure you create it at the root of your project.

Finally, to check that this works, let's open pages/index.js and let's replace our <h1> tag's content with a "Hello, world!" variation:
<h1>Hello, {process.env.GATSBY_MY_ENVIRONMENT}</h1>
And if we save that change and open it in our browser, we should see "Hello, Development"!

0 Comments
Post a Comment